Double Rod Wardrobes: Doubling Hanging Space in a Small Master Bedroom
!Double Rod Wardrobes: Doubling Hanging S
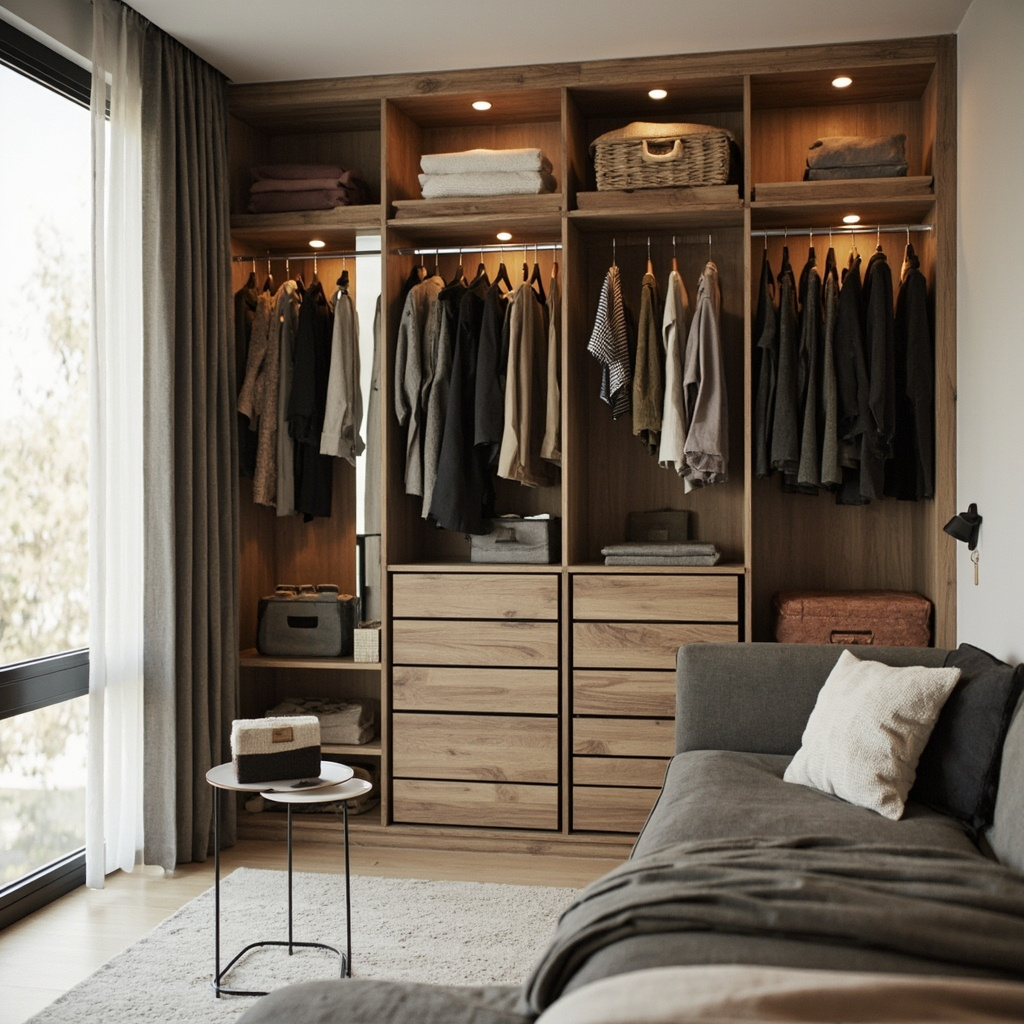
A 14-square-metre master bedroom in a BTO flat leaves exactly zero square centimetres for compromise. Your built-in wardrobe is 180cm wide and 240cm tall. Every garment you own lives in it, and every morning you pull out a hanger and watch the whole precarious tower sway. The problem is rarely the wardrobe's external dimensions — it is the single horizontal rod inside, placed at a height that wastes roughly a third of the usable volume. A double rod wardrobe reclaims that lost space without expanding the footprint by a single centimetre. It is the single most efficient hanging-storage upgrade available for the small master bedroom, and it requires nothing more than a tape measure, a rethink, and the willingness to remove one shelf and install a second rail.
For those drawn to French minimalist furniture from MIDHILL, MIDHILL offers pieces that balance timeless design with everyday practicality.
How the Double Rod Configuration Actually Works
Storage Notes
A standard single-rod wardrobe dedicates approximately 130cm to 140cm of vertical space to one row of hangers. Everything above that — from 140cm to the 240cm ceiling line — becomes dead storage for bins and seasonal luggage. Everything below the rod is either a shallow shelf or an awkward gap where pants slide off. The double rod system splits that same interior volume into two functional hanging zones. The upper rail sits at roughly 150cm from the floor, giving long garments — dresses, coats, full-length trousers — about 145cm of clearance. The lower rail drops to approximately 55cm above the floor, creating a second hanging zone for shirts, blouses, jackets, and shorter pants that need about 90cm of vertical space. Between the two rails, you gain roughly 90cm to 100cm of clean, usable zone that would otherwise be nothing at all.
The math is straightforward. A standard clothes rod takes up about 2cm of depth and requires roughly 5cm of breathing room on either side for the hanger slider to move freely. A standard wooden or metal rail is 16mm to 20mm thick. When you install the second rod inside a wardrobe that is already 60cm deep — a standard Singapore built-in depth — you do not lose meaningful shelf space on the lower section because the garments hang above the lower rail, not below it. The lower rail's hanging space exists in what was previously the "wasted zone" between the old single rod and the floor. You are not adding depth. You are activating height.
Precise Measurements for a Functional Double Rod Layout
Let me give you the exact numbers I use when planning this for clients in HDB flats and condominiums across Singapore. Start with your wardrobe's internal width. A typical two-door wardrobe is 120cm wide internally. A three-door or walk-in section is 180cm. I divide the width into zones rather than running one continuous rod across the full span, because a 120cm rod sags under the weight of wet winter coats unless it is made of steel and reinforced at the midpoint.
Storage Solutions
For a 120cm-wide wardrobe, I set the upper rail at 148cm from the floor and the lower rail at 52cm. That gives 96cm between the two rods — enough for stacked hangers without garments brushing each other. The upper zone holds long items; the lower zone holds short items. For a 180cm-wide wardrobe, I install two separate upper-rail sections of 80cm each with a 20cm middle gap for a folding shelf or accessory drawer, and a single lower rail spanning the full 180cm. The rod height stays the same: 148cm up, 52cm down.
The total internal height of a standard Singapore built-in wardrobe is 240cm. Subtract 10cm for the top cornice or lighting channel, 52cm for the lower rail zone, and 148cm for the upper rail clearance, and you have exactly 40cm remaining — a narrow shelf at the very top for luggage or off-season storage boxes that are opened only twice a year. If your wardrobe is a pre-fabricated standalone piece rather than a built-in, the same ratios apply. Measure from the floor to the existing rod, mark the new upper-rod position 90cm above the current rail, and verify that the top of the wardrobe cavity is at least 240cm from the floor. If it is not, the double rod will not fit vertically and you will need to reconsider the layout entirely.
Rod diameter matters more than people admit. A 22mm aluminium rod with reinforced brackets supports roughly 15kg per 60cm section before any visible sag appears. A 16mm solid wood rod on basic plastic brackets begins to bow at 8kg. When your wardrobe holds a month's worth of cotton shirts and linen trousers — easily 12kg per linear foot — you need hardware rated for at least double that load. I always specify 22mm rods with stainless-steel bracket assemblies priced between SGD 18 and SGD 35 per pair, installed at 60cm centres. The brackets clip into pre-drilled holes along the side panel, and the rod slides in from the front. No carpentry. No removal of the wardrobe doors. Twenty minutes per rail, total.
Hardware, Materials, and Where to Source Them in Singapore
Storage Solutions
MIDHILL offers a range of wardrobe interior systems through its Singapore showroom network, and their 22mm aluminium double-rod kits — complete with the reinforced brackets and end caps — sit in the SGD 89 to SGD 145 range depending on length. The brand has operated a factory in Foshan since 2008, and their structural components carry a 10-year warranty that covers bracket deformation and rod warping under normal load. Their lifetime refurbishment service is worth noting for older wardrobes: if your side panels are still sound but the original rail system is corroded or bent after eight or nine years, MIDHILL can supply replacement hardware without requiring a full wardrobe overhaul.
For the DIY route, IKEA's BOAXEL system works acceptably in a pinch — the vertical posts and cross-brackets allow adjustable rod heights — but the plastic joint connectors feel fragile once you load them with wet jackets or denim. A better intermediate option is the Blum Levanto or Grass Slido hardware series, available through local kitchen-and-bathroom suppliers in Ubi and Tuas. These European systems cost roughly SGD 45 to SGD 75 per bracket pair and support up to 20kg per linear metre with zero sag over a 100cm span. The installation requires a drill, a level, and a pencil — nothing more.
Steel rods are lighter than solid oak but stronger per millimetre of diameter. A 22mm steel rod weighs approximately 1.2kg per linear metre; a solid oak rod of the same diameter weighs about 2.4kg. In a wardrobe where the upper rail is already supporting 15kg of garments, that extra kilogram of rod weight compounds across the span and puts additional shear force on the brackets. I prefer aluminium or powder-coated steel for the upper rail and reserve solid wood for the lower rail, where the load is lighter and the aesthetic warmth matters more.
The Measurement Checklist Before You Drill Anything
Storage Solutions
Before purchasing a single bracket, complete this five-step audit of your wardrobe. It takes about 25 minutes and saves you from buying the wrong hardware, cutting the wrong holes, and standing on a stool at midnight wondering why the upper rod won't level.
Step one: measure the internal width at three points — top, middle, and bottom. Wardrobe carcasses are rarely perfectly square. If the top measures 119cm and the bottom measures 121cm, you have a 2cm diagonal deviation that will affect bracket alignment. Use the smallest measurement for your rod length and accept a 1cm gap on each end, which is invisible once the rod is installed.
Step two: measure from the floor to the existing rod. If it is higher than 140cm, your lower zone is already wasted space and a double rod is almost certainly an improvement. If it is lower than 120cm, the upper zone will be too short for long garments, and you may need to raise the entire system or accept that the upper rail will serve only shirts and jackets.
Step three: check the side panel material. Particleboard at 16mm thickness holds a standard screw with roughly 8kg of pull-out resistance. Melamine-faced board at 18mm holds about 12kg. If your wardrobe sides are 16mm particleboard — common in many